 novityinfo
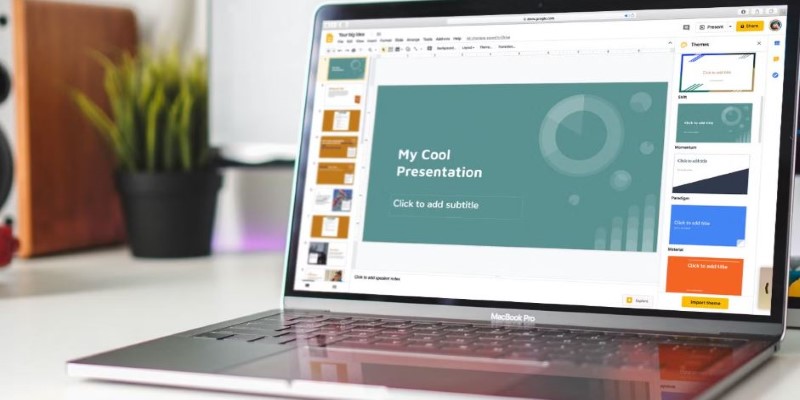
How to Loop a Video in Google Slides: A Complete Guide
Advertisement
If you've ever added a video to a Google Slides presentation and wished it could play on repeat without you manually restarting it—good news. There's a simple way to make that happen. Whether you're setting up a presentation for a kiosk, preparing something for an event, or just want a hands-off visual running in the background, looping a video can make a big difference.
The best part? You don’t need to install anything extra or know any coding tricks. It’s all built into the platform—you just need to know where to look. So, let’s walk through it step by step.
Complete Tutorial on How to Loop a Video on Google Slides
Inserting the Video
Before you can loop anything, you need to have a video on your slide. There are two main ways to go about this, depending on where your video is coming from.
Option 1: Insert a Video from YouTube
- Open your Google Slides presentation.
- Select the slide where you want the video.
- Click on Insert in the top menu.
- Hover over Video and choose YouTube.
- You can either paste the link or search directly from the window.
- Once you find your video, click on it, then press Select.
The video will drop into your slide. From here, you can resize it and move it around as needed.
Option 2: Insert a Video from Google Drive
If you’ve got a video stored in Google Drive (for example, one you've recorded or downloaded):
- Click Insert → Video → Google Drive.
- Choose your video from the list or search for it.
- Press Select, and it will appear on the slide.
Just like with a YouTube video, you can adjust its size and position however you like.
Setting the Video to Loop Automatically
Now that the video’s in place, it’s time to set it to play automatically and repeat when it ends. While Google Slides doesn’t have a visible “loop” button, the feature is available through the video playback settings.
Here’s what to do:
- Click once on the video so that it’s selected.
- Click the Format options button in the toolbar, or right-click the video and choose Format options from the menu.
- A panel will open on the right side of your screen. Scroll to the Video playback section.
- Check the box that says Autoplay when presenting.
- Below that, check the Loop video.
You’ve now set the video to play automatically and repeat without clicks.
What If the Loop Option Isn’t Showing?
Sometimes, users get stuck here because the “Loop video” option doesn’t appear. This typically happens when you insert a YouTube video. The loop feature tends to work more reliably with videos from Google Drive.
So, if you inserted a YouTube video and don’t see the loop checkbox:
- Try downloading the video and uploading it to your Google Drive.
- Then, re-insert the video into your slide using the Google Drive method.
- You should now see the loop option under video playback settings.
Keep in mind that downloading YouTube videos can have copyright issues, so make sure the video is either yours or licensed for use.
How It Works During the Presentation
When you hit “Present,” your slide will automatically begin playing the video. If you’ve checked both the autoplay and loop boxes, the video will restart as soon as it ends, without any interruption or need to click anything.
One thing to remember: This loop only works while you stay on that specific slide. The moment you switch slides, the video stops. So, if your goal is to have the video running indefinitely—say, during an intermission or at a booth display—just stay on that one slide.
You can even create a presentation with only that single slide and then run it full screen. It'll look just like a standalone video player on repeat.
A Few More Tips to Keep Things Smooth
Once you’ve got the basics down, there are a few small tweaks that can make everything cleaner and more professional.
Hide Video Controls
When you present the slide, the video controls (like pause and volume) show up for a moment. If you'd prefer to keep things distraction-free:
- Upload a version of the video that doesn’t need volume.
- Right-click on the video, and under “Format options,” uncheck “Show player controls.”
This way, your audience sees only the video—no buttons, no distractions.
Match Slide Timing
If you plan to move between slides but want the video to run for a specific amount of time before switching:
- Add a timer by going to Slide > Transition, and set a time for the slide to auto-advance.
- Be sure to time this to the length of your video if you don’t want it to cut off in the middle.
Use with Animations
You can combine looped videos with animations on the same slide. Just keep in mind that animations won’t repeat like the video does. So, if you’re doing something interactive or using visual effects, they may stop after the first run unless you manually refresh the slide.
Final Thoughts
Looping a video on Google Slides is more about knowing where the settings are than anything technical. It’s one of those features that’s a bit tucked away but easy once you find it. If you ever need to edit the video—trim it, change the speed, or swap in a different file—you can do all of that by selecting the video and revisiting the Format options menu. It’s flexible enough to fit different kinds of projects without needing outside tools. And that's all there is to it. With a few clicks and a couple of checkboxes, your video is in a loop and ready to go.
On this page
Complete Tutorial on How to Loop a Video on Google Slides Inserting the Video Option 1: Insert a Video from YouTube Option 2: Insert a Video from Google Drive Setting the Video to Loop Automatically What If the Loop Option Isn’t Showing? How It Works During the Presentation A Few More Tips to Keep Things Smooth Hide Video Controls Match Slide Timing Use with Animations Final ThoughtsAdvertisement
Related Articles
Smooth Slow Motion Editors: Top Tools for Phone and Computer
Effective Tips to Make a Video Longer Without Losing Viewers
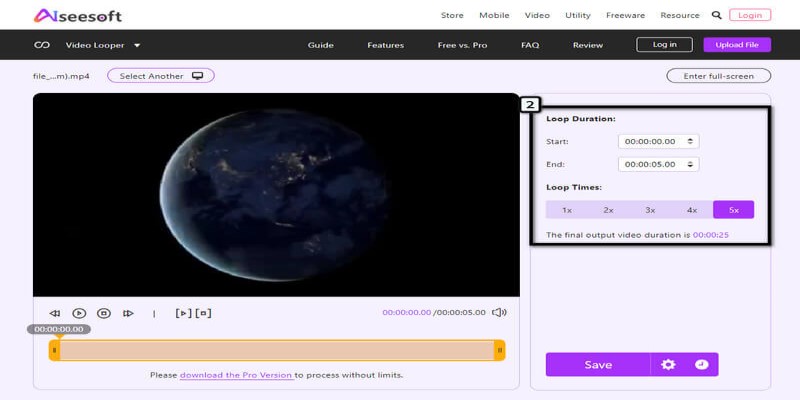
A Comprehensive Tutorial on Looping Videos Using Kapwing
Looping Videos on iPad Without Wi-Fi or Workarounds
How to Loop a Video in iMovie for Free on Mac and iOS

Step-by-Step Guide to Editing TikTok Videos on iPhone

Top Desktop Apps for Smooth Slow and Fast Motion Effects

Explore the Best Shopify Alternatives in 2025 for Building Your Perfect Online Store

How to Convert AVI to MP4 on Mac for Kindle Fire Playback
Best Looper Apps to Turn Your Phone Into a Pocket Studio

PicPlayPost Video Editor Review: Smart, Simple, and Creative