 novityinfo
Adobe Premiere Rush on Desktop: Where Simple Editing Meets Smart Design
Advertisement
Editing video doesn’t have to mean hours of timelines, hundreds of clips, or bulky software that slows everything down. If you’re looking for something lightweight that still delivers a clean, finished product, Adobe Premiere Rush hits a comfortable middle ground. Though it’s available on mobile, the desktop version offers a bit more breathing room—ideal for those who want extra control without jumping into the complexity of full-scale editing tools like Premiere Pro.
A Clean Workspace That’s Actually Easy to Figure Out
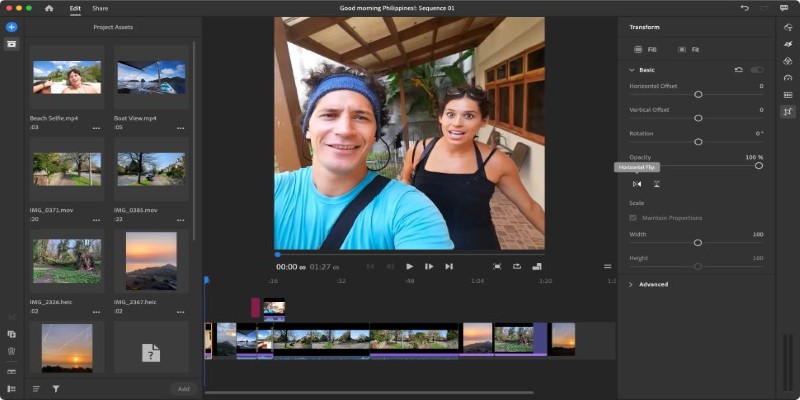
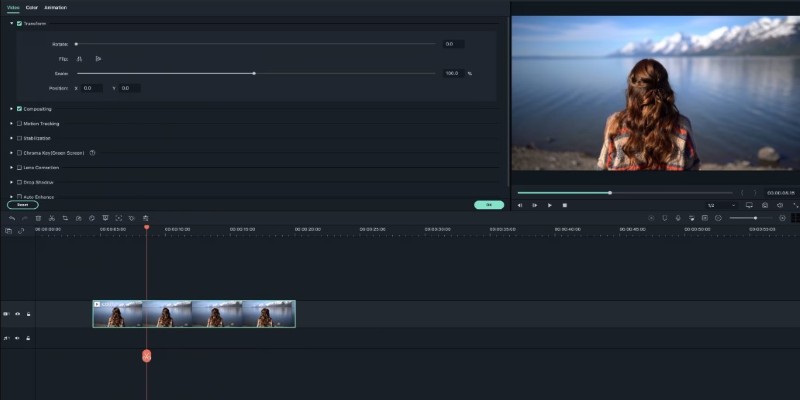
Most video editors can feel overwhelmed right out of the gate. Not this one. When you open Premiere Rush on a desktop, you see a simple workspace. There's a preview window, your timeline, a media panel, and a few clearly labeled buttons. That's about it.
You’re not hit with endless tabs or nested windows. Everything is where you’d expect it to be. Drag and drop your clips into the timeline, trim them right there, and line them up however you want. You can shift things around easily, and there’s not much guesswork involved. For basic editing, transitions, and a bit of sound balancing, it covers everything most people would ask for in a first round of editing.
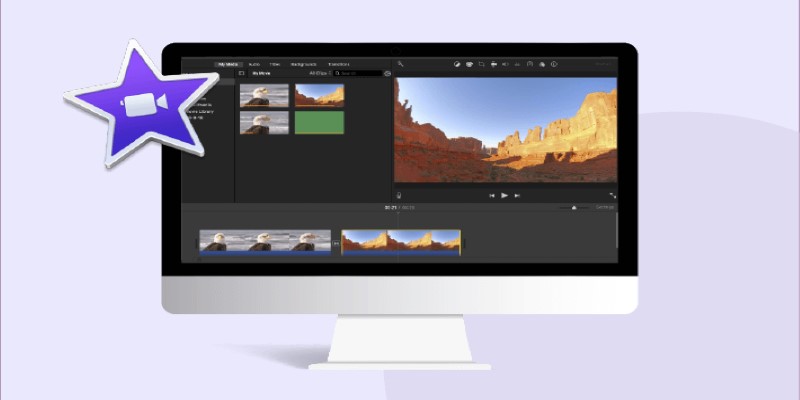
If you're coming from mobile, the interface will look familiar—but there’s more space to work with, and a keyboard makes trimming and adjusting faster. If you’ve used iMovie or other beginner-friendly editors, this one is in the same zone but gives a bit more polish.
Tools That Make Sense (and Stay Out of the Way)
The tools in Premiere Rush are built for clarity and speed. You get a handful of transitions—like fades and dissolves—that are easy to apply without digging through menus. Speed changes, title animations, and basic color tweaks are all handled with simple sliders and presets. It’s enough for everyday projects like how-to clips, vlogs, and product videos.
Instead of diving deep into pro-level controls, the app focuses on keeping everything smooth and distraction-free. Audio tools are especially helpful: auto-ducking lowers music volume when you add a voice track, which saves time on manual adjustments. It’s a small feature, but it makes voiceovers and spoken content clearer without extra effort.
What's smart about Rush is how it anticipates the needs of frequent editors. It's not designed for cinematic post-production—it's more like a time-saver for creators who want solid results fast. That balance makes it appealing for people who edit often and prefer to keep things efficient.
Exporting Without the Confusion

Export settings in traditional editors are where many beginners get lost. Premiere Rush handles this better. When you're done editing, you just click "Share," and your options are clear. You can export to your computer or publish directly to YouTube, Facebook, or other platforms. There's no long list of codecs to choose from, and no stress about bitrate or resolution settings unless you want to tweak them.
By default, it exports high-quality 1080p, which is good enough for most use cases. If you're someone who doesn't want to get stuck in compression settings, this part of the workflow feels like a relief. It's just a few clicks, and the job is done.
You can still adjust the resolution or frame rate if you want, but the presets do a good job of covering most needs. There's nothing hidden behind technical language either, which helps a lot for users who just want to finish the video and move on.
A Few Tips for Getting the Best Out of It
If you’re new to Premiere Rush, here’s how to keep things running smoothly:
- Keep your media organized before importing. Rush works better when it can read files clearly without chasing down missing footage.
- Use keyboard shortcuts. Even in a lightweight editor, this makes a big difference. Basic shortcuts like cutting, splitting, and zooming on the timeline can speed things up a lot.
- Stick with one or two fonts for all your titles and reuse styles. This keeps your video looking consistent without redoing things every time.
- Keep your timeline clean. Don’t overload it with too many layers. Two or three is usually enough: one for video, one for audio, and maybe one extra for overlays or effects.
- Limit your effects. The built-in ones are simple but easy to overuse. A clean cut often looks better than stacking on transitions just because they’re there.
- Set your default export folder so you don’t have to browse for it every time you finish a video.
- Use proxy files if your footage is large or causing lag—Rush can struggle with high-resolution clips on older machines.
- Group your clips into sequences if your project has multiple sections. It helps with organizing and editing faster.
- Rename your media clips before importing. Seeing “Intro_Shot1” is more helpful than “VID_203948.”
- Lock tracks if you’re done with a section to avoid accidental changes.
- Use markers to note where you want to add effects, music cues, or edits later on.
- Trim excess silence in audio manually—auto tools help but don't always catch everything.
Wrapping It Up!
Adobe Premiere Rush on the desktop is a solid choice for people who want to make good-looking videos without overcomplicating things. It's quick to pick up, easy to manage, and gets the job done for a wide range of simple editing needs. While it's not built for advanced projects, it fills a useful space between mobile-only apps and heavyweight editors.
For creators who post regularly and don’t want to spend hours editing, it’s the kind of tool that just works—and that’s what makes it worth keeping in your editing lineup. Hope you find this info worth reading. Stay tuned for more!
Advertisement
Related Articles

A Comprehensive Tutorial on Looping Videos Using Kapwing
Smooth Slow Motion in Sony Vegas: Top 7 Editing Techniques

Step-by-Step Guide to Converting MP4 Videos into PNG Images Online

VSCO: The App for Creating Mood Through Simple, Cinematic Edits
How to Loop a Video in iMovie for Free on Mac and iOS
Smooth Slow Motion Editors: Top Tools for Phone and Computer
Top Desktop Apps for Smooth Slow and Fast Motion Effects

InVideo: Quick, Clean Video Editing Straight from Your Browser

Explore the Best Shopify Alternatives in 2025 for Building Your Perfect Online Store

Mastering iMovie: Quick, Clean Video Editing for Every Apple Device
Creating Smooth Slow-Motion Videos in iMovie: A Simple Guide