 novityinfo
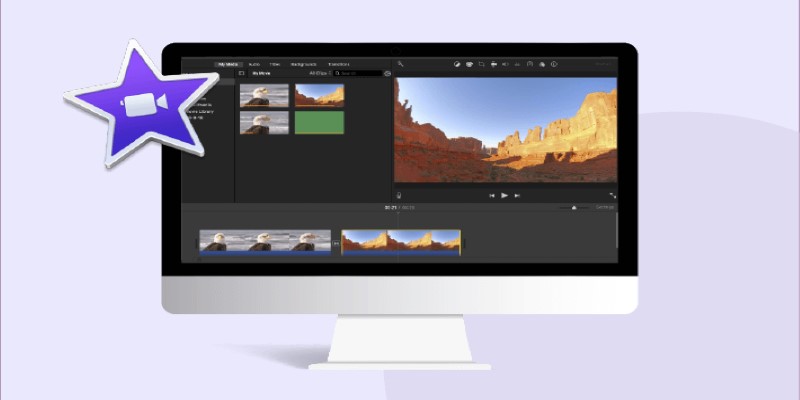
Creating Smooth Slow-Motion Videos in iMovie: A Simple Guide
Advertisement
Whether you're trying to capture the delicate sway of tree branches in the wind or highlight a sports move frame by frame, slow motion can turn ordinary footage into something that feels far more expressive. If you’re using a Mac or an iPhone, iMovie is one of the simplest tools to help you do just that. The best part? You don’t need to be tech-savvy or spend hours trying to figure it out. Apple’s software keeps things simple and clean, which is exactly what we’re going for here.
Let’s walk through how to use iMovie for slow-motion videos—without the fluff, without the confusion.
How to Use iMovie to Create Video in Slow Motion
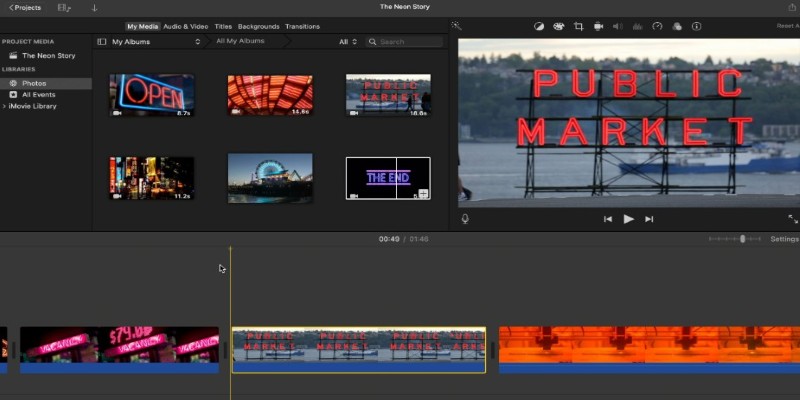
Start with Your Footage
Before anything else, you need the right kind of footage. If you've shot a video using your iPhone and you already recorded it in slo-mo mode from the camera app, then you're ahead of the game. But don't worry if you didn't—iMovie lets you slow down regular video, too.
If you’re using a Mac:
- Open iMovie and click “Create New” > “Movie.”
- Import your video by dragging it into the media section or selecting “Import Media.”
- Drag your clip down into the timeline.
If you’re working on an iPhone or iPad:
- Open the iMovie app.
- Tap the “+” sign and select “Movie.”
- Choose the clip you want to edit and tap “Create Movie.”
- Your video will appear on the timeline and be ready for edits.
At this point, it’s all about telling iMovie exactly how slow you want your video to be.
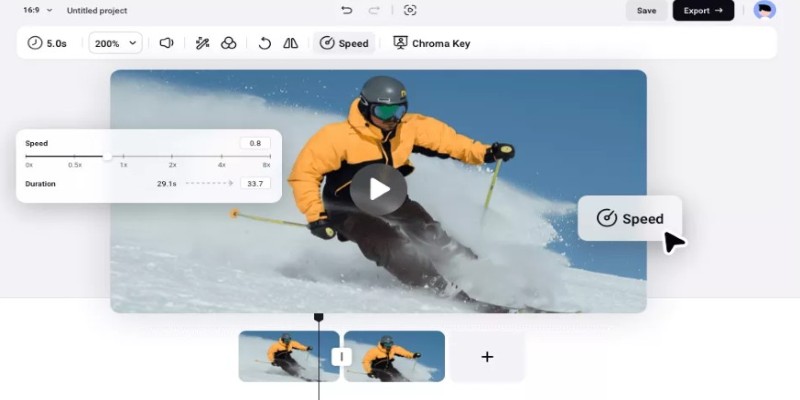
Slow It Down
Now comes the part where the actual magic happens—slowing it down.
On a Mac:
- Click on your clip in the timeline so it gets highlighted.
- Above the viewer, find the speedometer-looking icon. That’s the speed control.
- Click it, then choose “Slow.”
- iMovie gives you options like 50%, 25%, or 10% speed. Select one that feels right.
- The timeline will adjust automatically, stretching out your clip as needed.
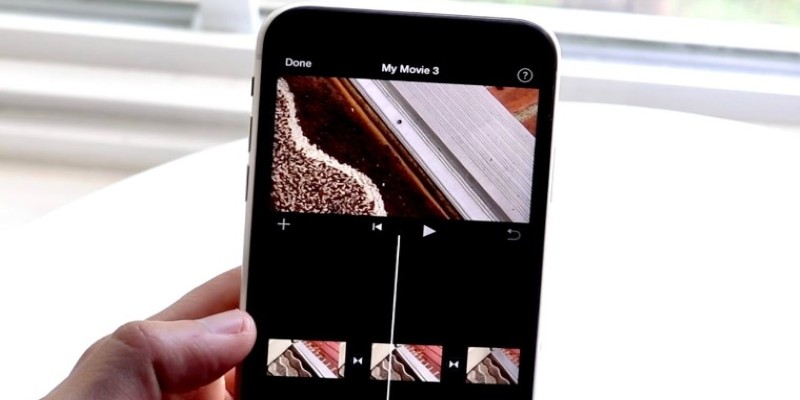
On iPhone or iPad:
- Tap on the clip in the timeline.
- At the bottom, you'll see a speed adjustment tool, which looks like a little speedometer, too.
- Drag the yellow slider to the left to slow it down.
- You’ll see a turtle icon appear as you slow things down. That’s your sign it’s working.
A tip worth knowing: dragging the slider all the way to the left doesn’t mean better slow motion. Sometimes, going too slow on a regular frame-rate video can make things look jittery or choppy. So, watch how the footage responds. If it feels like it's lagging rather than slowing down, try increasing the speed just a little.
Use Cuts and Edits to Keep It Smooth
Slow motion works best in short bursts. Instead of slowing down an entire two-minute clip, figure out which moments deserve the spotlight. Maybe it's the leap in the air, the splash of water, or the smile after a surprise.
To isolate these moments:
- Split your clip where the slow motion should begin and end. On Mac, use the Command + B shortcut. On iPhone, just tap the clip, then tap “Split.”
- Apply the slow-motion effect only to that section.
This makes the final video feel more natural and intentional. When slow motion is used with purpose, it hits harder—whether you’re aiming for drama, emotion, or just adding a bit of flair.
Adjust Audio for a Cleaner Look
Once you slow down a clip, the audio stretches with it—and that usually doesn’t sound great. Voices can turn robotic or distorted. Unless that's what you're going for, it's better to mute or remove the audio on that slowed-down part.
On Mac:
- Right-click the clip and choose “Detach Audio.”
- Click on the purple audio strip and delete it or mute it.
On iPhone:
- Tap the clip in the timeline.
- Tap the volume icon and drag the volume all the way down.
You can then replace it with music or sound effects that match the mood. A subtle background track or even just silence can do wonders when paired with a slow-motion scene.
Exporting Without Losing Quality
After you’ve trimmed, slowed, and polished your video, the last thing you want is for it to look blurry or compressed when you share it. iMovie makes exporting pretty straightforward, but a few quick settings can help make sure your final video looks as sharp as it did in your timeline.
On Mac:
- Click the share icon in the top-right corner.
- Select “File” instead of uploading directly to a platform.
- In the pop-up window, set the resolution to match your original footage—usually 1080p or 4K if available.
- Keep the “Quality” set to High or Best (ProRes if you don’t mind a larger file).
- Hit “Next,” choose a name and location, and save.
On iPhone or iPad:
- Tap “Done” to exit the editing screen.
- Tap the share button and choose “Save Video.”
- Pick the highest resolution available—usually 1080p or 4K.
Even though it's tempting to share straight to social media from within iMovie, exporting it first and uploading it manually gives you more control over quality. That way, all the details in your slow-motion scenes stay clear, and your final video feels just as good as it looks in the editor.
Wrapping It Up
Creating a slow-motion video in iMovie is less about having the best gear and more about choosing the right moment. The software gives you just enough control without overwhelming you. Whether you’re using it to add drama to a personal video or trying something new for a creative project, slowing things down lets people catch details they’d normally miss. It’s simple, it works, and it gives your footage a completely different feel. All it takes is a few clicks.
Advertisement
Related Articles
Different Ways to Repeat and Loop a Video on iPhone
Smooth Slow Motion in Sony Vegas: Top 7 Editing Techniques

Explore the Best Shopify Alternatives in 2025 for Building Your Perfect Online Store

Step-by-Step Guide to Using Snapchat Filters on Your TikTok Videos Without Losing Quality
How to Loop a Video in iMovie for Free on Mac and iOS
ShotCut Video Editor: A Simple and Reliable Free Tool for Video Editing
How to Get Smooth Slow Motion in After Effects Without Choppy Frames

LumaFusion: Pro-Level Video Editing from the Palm of Your Hand

Adobe Premiere Rush on Desktop: Where Simple Editing Meets Smart Design

KineMaster Video Editing App Review: A Mobile-Friendly Powerhouse

How to Combine Photos and Video Clips in a TikTok Post: A Complete Guide